Garden Decor Lighting Ideas: Lanterns, String Lights, and Fire Bowls
A practical guide to lanterns, string lights and fire bowls: how to layer decorative garden lighting for...


A garden that looks good after dark usually shares one quality with a good stage set: you notice the effect, not the machinery. Then evening comes, the lights come on, and there it is — a black cable cutting a straight line across the border, a transformer box parked under the tap, and a row of fixture bodies sitting grey and obvious against the soil. None of this is hard to solve. It simply has to be thought about before the spade goes in, or tidied up in a free afternoon afterwards.
Cable takes the shortest path by default, and the shortest path is almost always the ugliest one. Before you commit, walk the bed at dusk with a torch and look at it the way a visitor will — from the terrace, from the kitchen window, from the path. The cable should follow something that already exists: the back edge of the border, the base of a wall, the seam between lawn and planting, the line of a hedge. Straight lines drawn diagonally across open soil read as mistakes. Lines tucked against a boundary read as nothing at all.
Where you can, run a feeder cable along the bed edge and take short spurs off it to each fixture. One hidden spine and five stubby branches is far easier to disguise than five separate runs fanning out from the house. Keep the feeder out of the ground you dig over every spring — the annual border, the cutting bed, the vegetable patch — or you will be repairing it with a fork sooner or later.
Then draw it. A rough sketch with distances, plus two or three phone photos taken before you backfill, will save you an hour of guessing the next time you plant a shrub or sink a stake. It also stops you putting a fork through a live run in three years' time.
Use cable rated for direct burial, and check the manufacturer's instructions along with any local rules on depth before you start. For typical low-voltage garden lighting, a trench of roughly 15–20 cm is common practice; mains-voltage work is a different job and belongs with a qualified electrician. The method matters as much as the depth:
Joins are the part people hide badly. Never twist two wires together and bury them in soil. Use waterproof, gel-filled connectors, and where possible keep connections above grade or inside a proper enclosure. A joint buried in damp soil is a fault waiting to happen, and it will always fail in the week you have guests.
Transformer boxes are the least attractive item in any lighting kit, and the temptation is to bury them. Don't. They need airflow, they need to stay dry, and you need to reach them to reset a breaker or add a circuit. Look for a position near an outdoor socket but out of the main sightline: behind a mature shrub, on the shaded side of a shed, mounted on a post screened by a hedge, or inside a ventilated enclosure with a removable lid.
Lift the unit off the ground on a bracket or stake so water runs away from it, and keep the cable entries pointing downwards. A box sealed tight against the weather will simply cook in summer and collect condensation in winter. Screen it, don't smother it, and always leave enough clearance to get a hand in.
Planting is the most natural camouflage you have, but it needs choosing rather than hoping. The ideal plant for covering a fixture is dense at the base, keeps a neat outline, and doesn't flop onto the lens in the first autumn storm.
Keep 15–20 cm of clear space around any fixture head. A light buried in foliage stops lighting anything and starts cooking leaves. Skip vigorous spreaders near connection points, and think twice about tall grasses right in front of an uplight unless you actually want the shadow play on a wall.
Dark mulch is the cheapest camouflage there is: a black or dark brown bark chips disappear against black cable, while pale gravel or fresh compost makes every run stand out. If your beds are gravel-mulched, use a matching tone and rake it level over the trench rather than mounding it.
Edging does two jobs at once. Steel or aluminium edging set into the soil gives you a neat seam to run cable behind, and it holds mulch off the lawn. A narrow gravel strip along a border edge hides a feeder run beautifully and reads as deliberate design. Stones and small boulders placed at fixture bases look intentional and stop the mulch sliding onto the lens.
One warning: don't build a pale collar of gravel around every fixture. A series of tidy white circles draws the eye exactly where you didn't want it. Use the same material as the rest of the bed and let the hardware vanish.
Most fixtures give themselves away at the head, not the cable. Sink the stake deeper than the instructions suggest so only the head shows above the soil line. Set well lights flush and keep the lens a centimetre or two above mulch level, never below it. Choose dark bronze or anthracite housings over chrome or white — they disappear in daylight and stop reflecting in the dark.
Aim before you bury. Loosen the fixture, point it, and check from the main viewing position with the rest of the garden dark. Then tuck a leaf or a low branch into the line of sight if a hotspot is showing. It's a two-minute adjustment that saves months of irritation.
Concealment is not a one-off job. Once a month, walk the garden after dark with a torch off and look for what has reappeared: a cable lifted by frost, a mulch line washed thin, a shrub that has flopped over a lens, a stake pushed up by the soil. Ten minutes of trimming and re-aiming keeps the whole scheme invisible.
In autumn, clear fallen leaves from well lights and check connections before the wet weather arrives. In spring, top up mulch over any seam you can see and re-photograph the layout if you've added fixtures. And if any part of the system involves mains voltage, or you're unsure about burial depths and enclosures where you live, have a qualified electrician check it — the hidden work is exactly the work nobody else will notice going wrong.
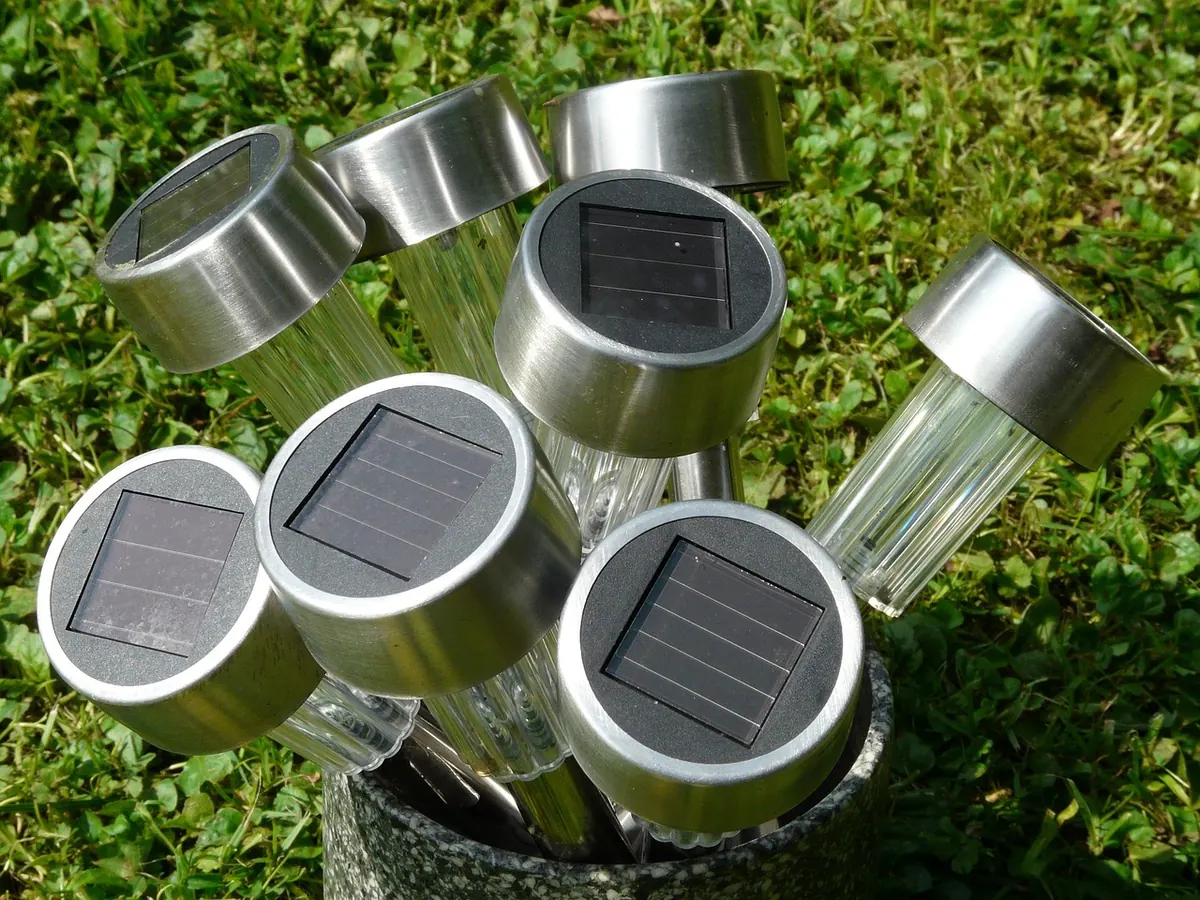
Photo: yucelmanlevent / Pixabay
A practical guide to lanterns, string lights and fire bowls: how to layer decorative garden lighting for...
Seven compact lighting strategies for courtyards and small city gardens, using vertical accents,...
Solar and low-voltage garden lights differ most in wiring, upfront cost, and how steady they stay through...